Remember: “Save” as you go
- Open your website as an Administrator.
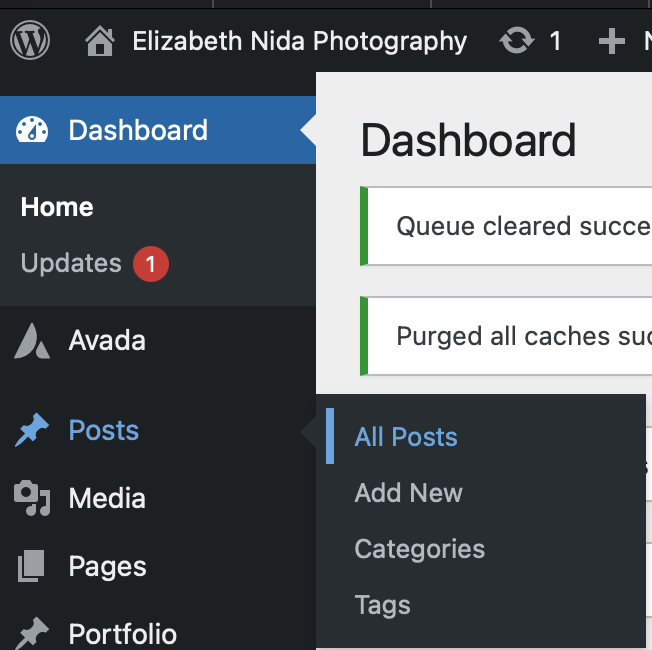
- Choose Posts from the left nav sidebar.
- Choose All Posts from the pop-menu.
Create a Post draft
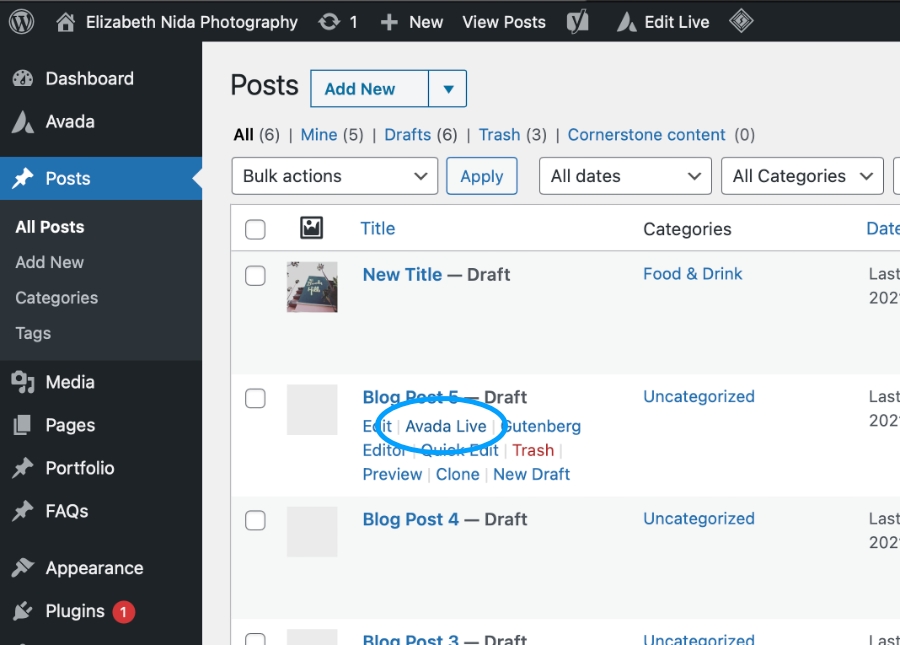
- Hover over an existing post.
- Choose Avada Live from the post’s pop-menu to begin editing the document.
- Alternatively, you can choose “New Draft” to leave the existing post untouched and create a new one.
Edit the Post Title and…
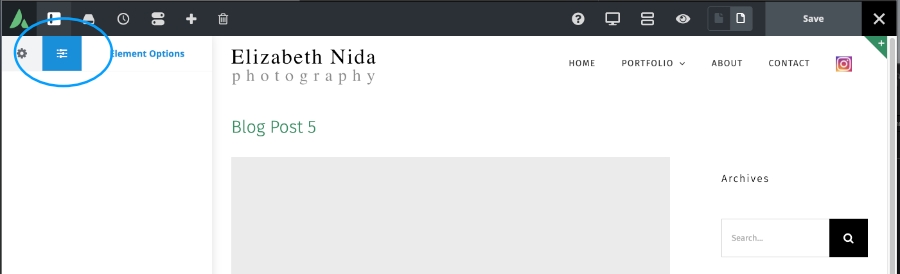
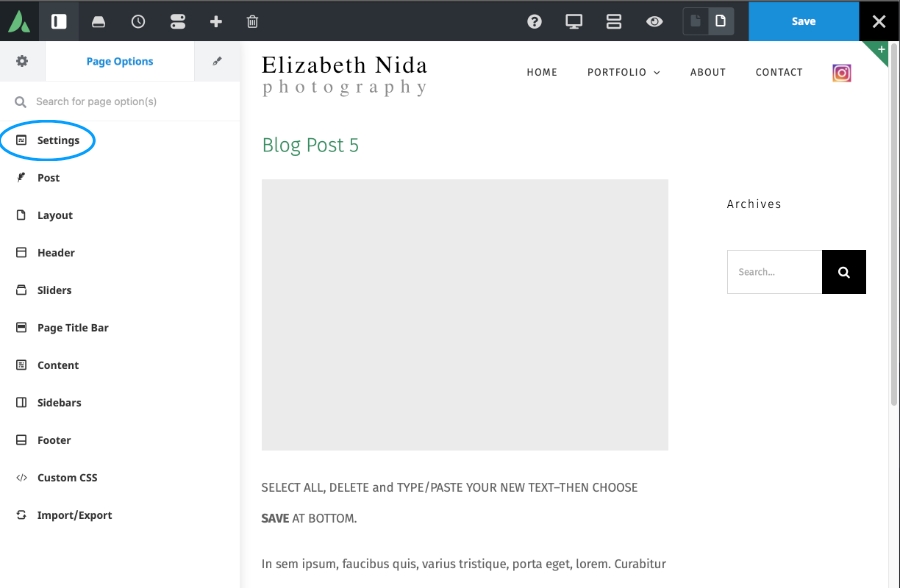
- Select the middle icon from the top tab nav bar to bring up “Page Options”
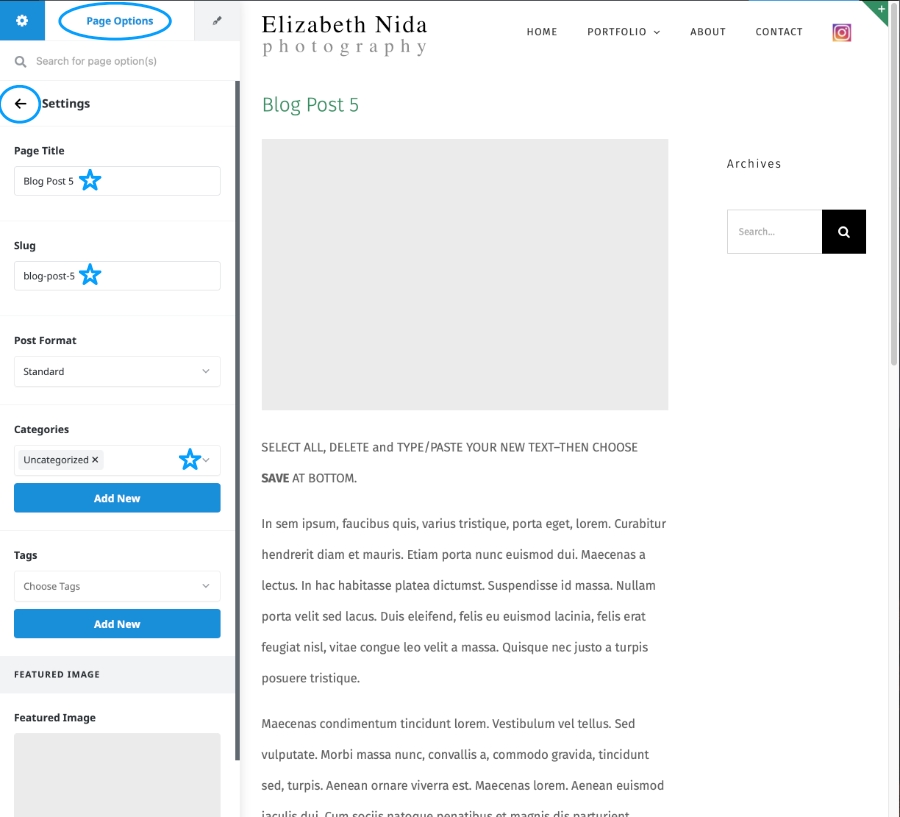
- Choose Page Options, then choose Settings. You will then see a return arrow (circled) next to “Settings”. You’re now ready to edit (starred items)
- Change the Page Title of the post.
- Change the Slug name (lower case, no spaces).
- Change or Add the blog Categories using the dropdown box.
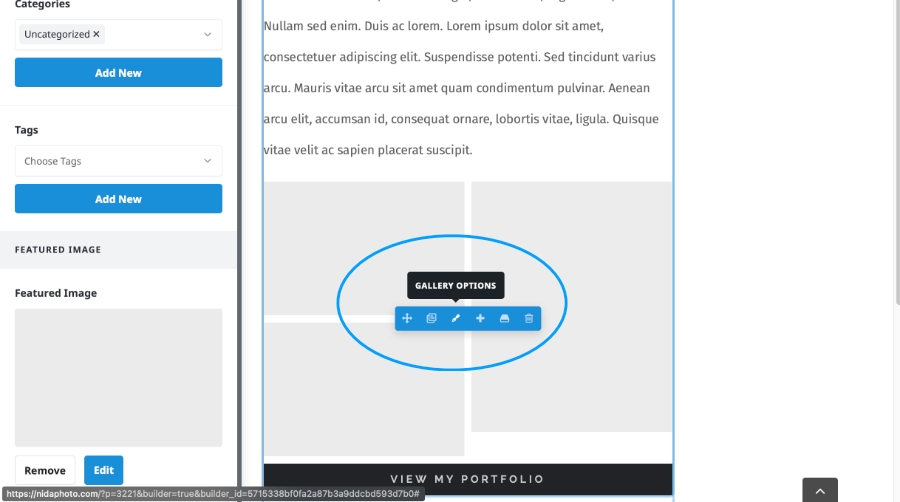
Edit the Text and Images
- Add/Edit Text: Either directly edit text on page (select all/paste or type new text) or hover over the text block and elect the Brush icon to bring up more options and text box in left sidebar.
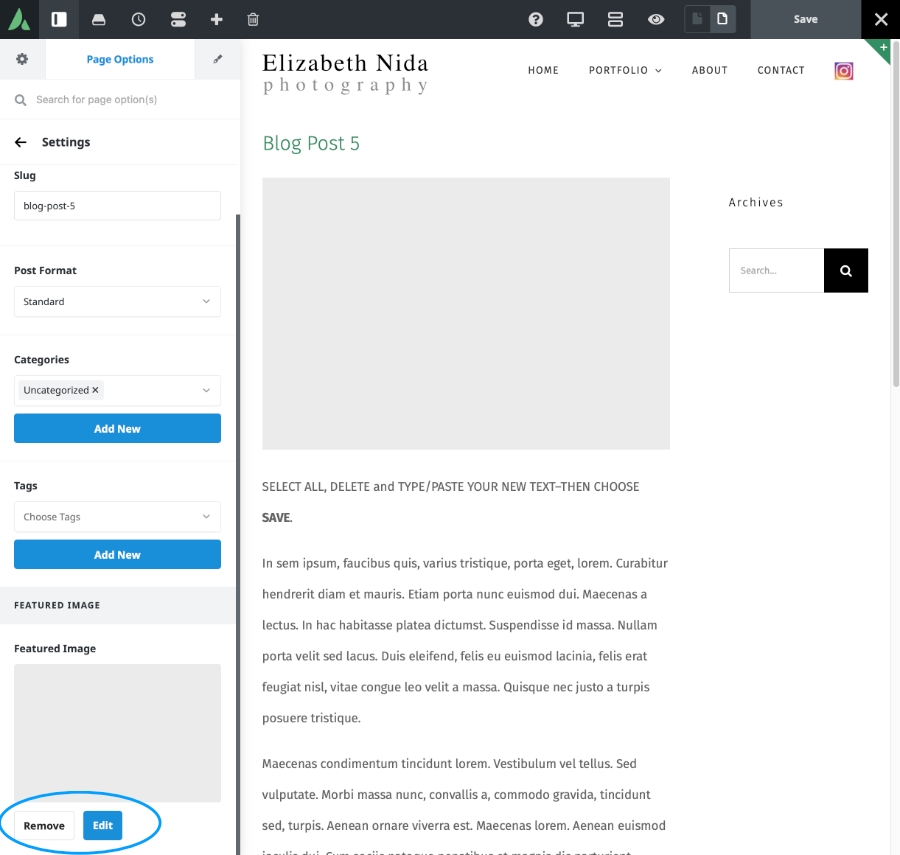
- Select the Featured Image “Edit” to bring up the dialogue box for adding the top image to your Post.
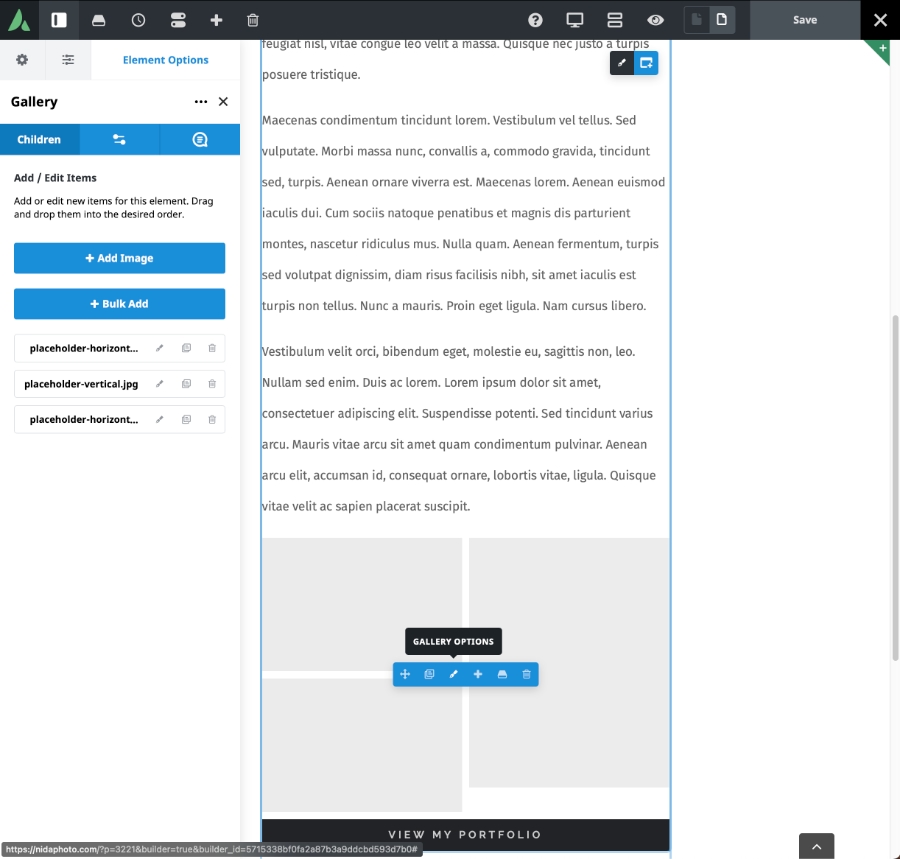
- Change the Gallery by hovering over the center of the group of images boxes to bring up the Gallery Options and select the paintbrush icon. Edit/add to the Gallery via the left sidebar dialogue box.
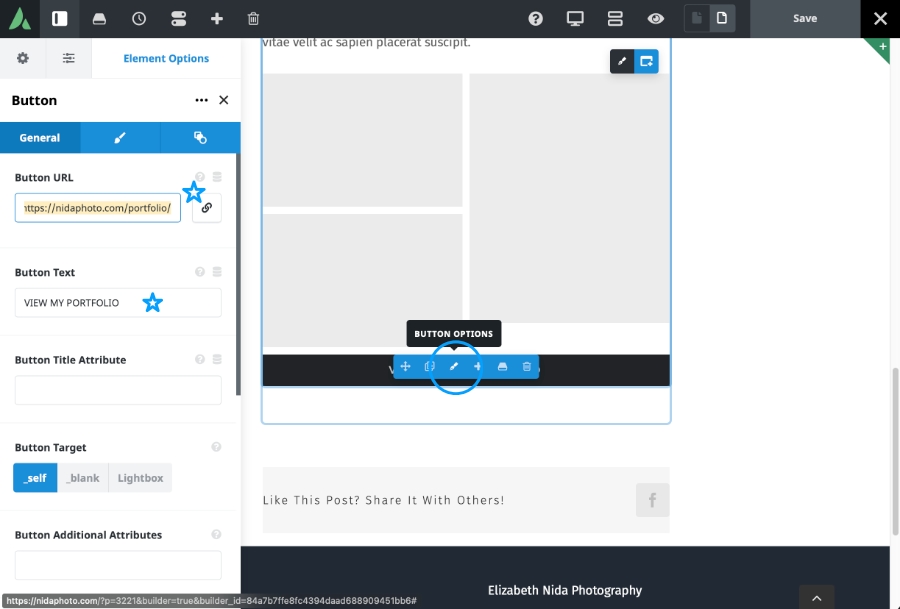
Edit the Button
- Hover and select the Button Options paintbrush icon to bring up the dialogue box for changing the name and link of the button.
- Change the Button Text: Add the desired Portfolio name, i.e. “VIEW MY FOOD & DRINK PORTFOLIO”
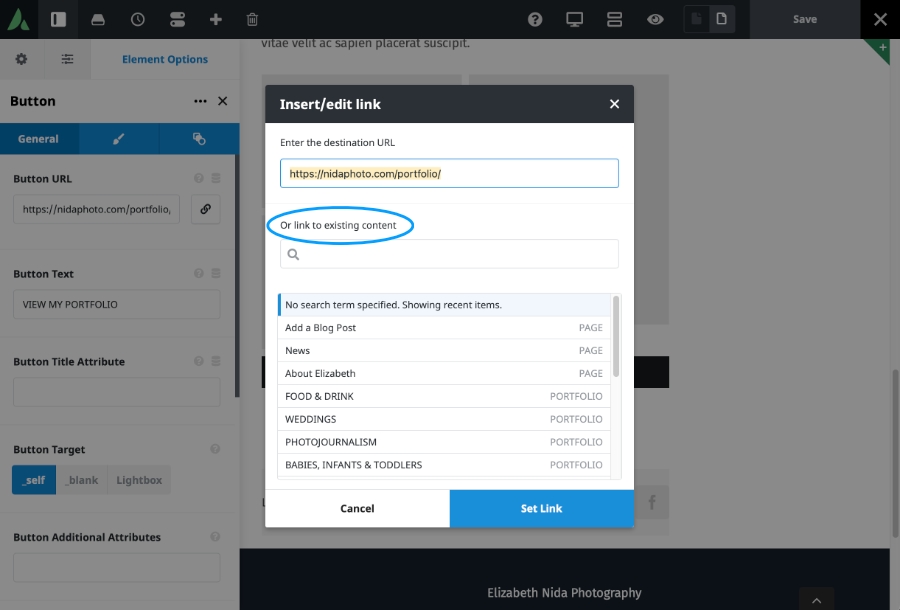
- Change the Button URL: Either choose the link from the listings or use the Search box under “Or link to existing content” to bring up the corresponding page for linking. Choose Set Link after making your selection.
- Save Draft (or Publish) page.